

Setting up React-Native Development Environment
Issues I faced while getting started with the React-Native local setup environment


This article curates some of the issues that one can face while setting up react-native on their system for the first time.
I have been working with web development for quite some time. Having developed various web applications using ReactJS, I wanted to explore learning mobile application development. There are several ways of working with app development such as -
Android Development using Java or Kotlin
iOS Development using Swift or Objective-C
Cross-platform app development using Flutter or React-Native
However, the easiest way for me to get started was through React-Native (Since I am already familiar with ReactJS). This is how I started going through React-Native Documentation on how to set up the local environment to create my first application.
There are 2 ways in which I could install and build the app.
Using ExpoGo - It is a set of tools and services built around React Native that helps in getting started with the app development in a few minutes. In simple words, you can consider them to be equivalent to creating React applications on codesandbox.
Using CLI - If you are already familiar with mobile development, you may want to use React Native CLI. It requires Xcode or Android Studio to get started. If you already have one of these tools installed, you should be able to get up and running within a few minutes. If they are not installed, you should expect to spend about an hour installing and configuring them.
Although I am new to mobile development, I still went ahead with the traditional approach of installing using CLI. I followed the step-by-step approach mentioned on the documentation site. Since I was working on a Mac machine, I had an upper edge to configure the setup for both Android and iOS.
Configuration for iOS
I had NodeJS installed previously, I confirmed that the version was above Node 14.
I installed Watchman using Homebrew ->
brew install watchmanI had to install the correct version of Ruby. The documentation's detailed explanation helped me understand that Ruby version 2.6.10 comes built-in by default on macOS 13. For our React-Native setup, we would need to use version 2.7.6 which can be installed using the Ruby version manager.
I went ahead with
rbenvand installedrbenv 2.7.6(This version is not maintained anymore, hence I upgraded to2.7.8)I had Xcode installed using the Apple AppStore. This takes a lot of time and memory on your Macbook. (~ 2 hours for me)
I made the mistake of continuing with the next steps of the setup when my Xcode was getting installed. This resulted in the failure of project creation with the following error message.

Another mistake that I realized was that I had installed
cocoapodsusingrbenv, but they had to be installed usinggemwhich is equivalent to NPM for node. This mistake cost me a lot of time. I tried uninstallingcocapodsand re-installing usinggem install cocapodsbut things did not work. I constantly saw the above error message.I ended up removing Ruby from rbenv, deleted rbenv, and installed them from scratch. This time, I made sure that the installation of
cocoapodsis done correctly.I was convinced by all the changes. I ran the command
npx react-native@latest init AwesomeProjectnevertheless, the same error message was still coming up.The frustrated developer in me decided to take a break for the day and start off with a clean slate.
The next morning, I reset all my configurations and started following the documentation step-by-step. At the moment, Xcode was installed on my machine. However, it is only now that I realized that
Xcode Command Line Toolswere not yet installed.Now, when I ran
npx react-native@latest init AwesomeProjectthings worked like a charm ✨My app was successfully created, and I was able
cd AwesomeProjectand view the project structure and files within them. I ran the following to test the buildnpm install npx react-native run-ios
With the execution of these commands, the app was ready in preview mode on the Xcode emulator. At this moment, I was quite happy and relieved that the setup was in working condition on at least one of the environments.
The next step was to check if everything ran well on the Android emulator.
Configuration for Android
I had NodeJS and Watchman installed previously (from the iOS setup)
I installed
Javausing homebrewbrew tap homebrew/cask-versions brew install --cask zulu11
I downloaded Android Studio and followed the steps mentioned in the documentation meticulously.
Next, I ran
npx react-native@latest init AwesomeProject. The project was created with a few warnings.cd AwesomeProject npm install npx react-native run-androidI ran the above command to build the app on Android hoping everything would work well. But to my dismay, the build failed 🥺
As with any other developer, I looked up many threads on Google and StackOverflow. I tried to run all the potential solutions
$ react-native start --reset-cache
$ cd android
$ gradlew clean
$ ./gradlew installDebug
I tried the npx react-native run-android, but the issue was persistent. After reading through many articles, I found one GitHub gist that suggested selecting the specific version of Java8 or Java11.
$ brew install java11
$ java --version
# 11.0.7
By making this change, everything started to fall in place perfectly, and my app was bundled, built, and ready in preview mode on the Android emulator.
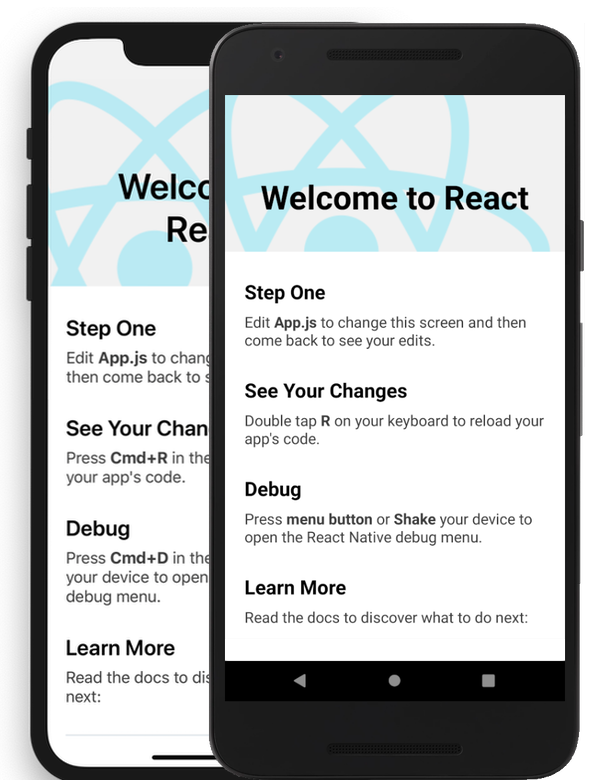
Finally, I was able to see the start app on both emulators!
At this moment I experienced the joy of fulfillment. The whole process of setting up took me 2 full days. There were a lot of instances where I could have given up and gone with the easier approach of setting up using ExpoGo. Nevertheless, I decided to take up each error as a challenge to understand the tight coupling between the operating system and its various dependencies.
This was one of the recent challenges that I faced as a developer, and I wanted to journal it as a form of this blog post. I hope you enjoyed reading about a small piece of my journey. If you did, please drop a like on this post 🙂
If you were struggling with a similar issue, and if this article helped you in some way, please drop a comment on which step were you facing the issue. If you are still facing any issues with your setup, feel free to reach out to me on Twitter
Peace ✌